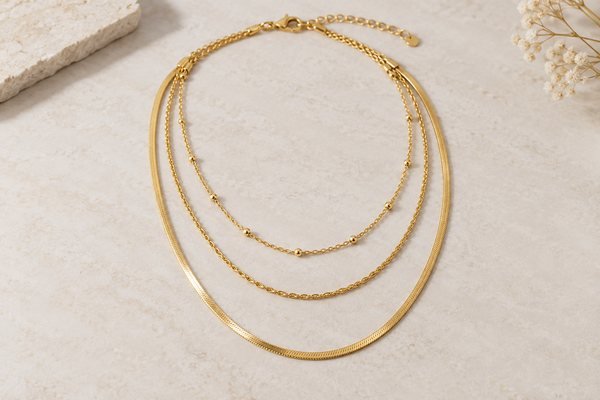
A multi-strand necklace is not simply several chains in one pouch. The terminal arrangement, layer lengths and pendant positions determine how the complete assembly sits. A buyer who approves each strand separately may still find that the finished necklace crosses, crowds or hangs differently from the intended design.
Specify multi-strand necklaces as complete assemblies with one reference per strand, a defined terminal order, measurable lengths and an approved worn arrangement. Check normal movement and unpacking. Distinguish an integrated multi-strand necklace from separate necklaces sold as a layering set.
1. Define the product architecture first
State whether the design uses one shared closure or multiple independent necklaces. This affects assembly, adjustment, component quantities and the customer’s wearing options. Do not let the supplier infer the architecture from a styled photograph.
Give each strand a unique reference and identify the chain type, finish and any pendant. Label the order from the intended wearing position, such as shortest to longest, so the drawing, sample and packing record use the same language.
Explore Women’s Gold Stainless Steel Layered Necklace as a starting point for a layered-necklace brief. Confirm the selected design’s strand arrangement, finished lengths and shared or separate closures before sample approval.
2. Measure each strand by a consistent method
Record the finished length for each strand and define which end components are included. State the extension setting used when comparing the assembly. A shared extender may change the position of all layers, while separate extenders permit different combinations.
For background on reliable measurement records, see NIST guidance on metrological traceability. Record the strand endpoints, extension setting and measuring tool used for this assembly.
Do not prescribe a universal spacing gap between layers. Pendant height, chain stiffness, neckline and the intended appearance all influence the design. Start with measurable lengths, then review a complete sample to decide whether the layers have suitable clearance.
3. Draw the terminal attachment order
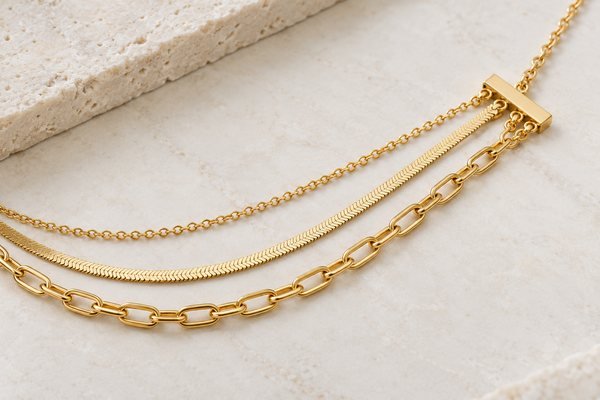
Show where each strand connects to the end fittings. Include both sides and the orientation of any connectors. A crossed terminal order can make the necklace sit differently even when every individual chain has the correct length.
Review ring openings, connector positions and attachment access on the actual assembly. Confirm any intentionally asymmetric design in writing. If the supplier proposes a different connector arrangement, compare an updated sample rather than accepting it based on a parts list.
4. Assess the full necklace during normal handling
Place and wear the complete assembly using the agreed settings. Observe pendant overlap, strand crossing and how the chains settle after ordinary movement. Record specific situations and photographs; avoid describing a design as tangle-free without suitable evidence.
If the design includes separate necklaces, review the set together and individually. Confirm which combinations will appear in product photographs and whether the packaging supports the intended selling arrangement. Keep the approved chain and pendant references linked to the set SKU.
5. Keep the packing sequence in the specification
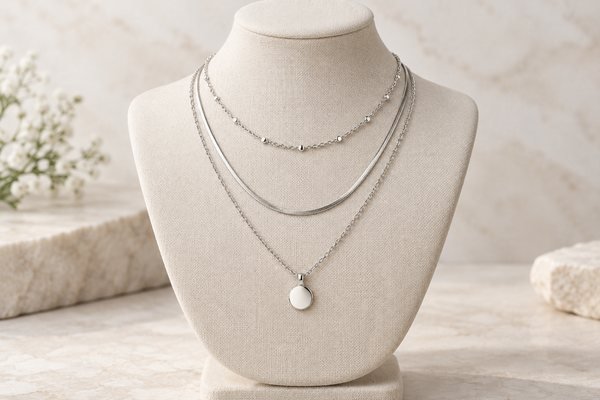
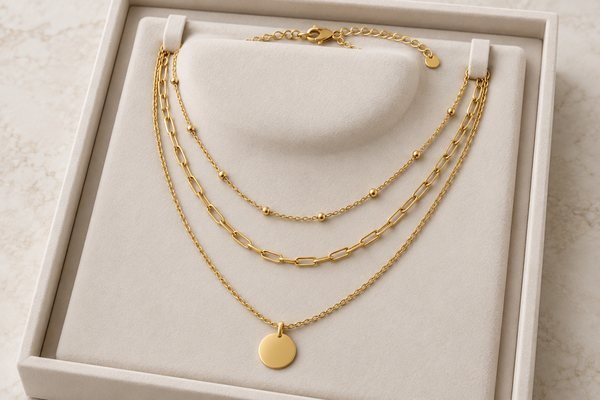
Copy the assembly matrix below into the order record. Add the overall set quantity, sample revision and packing reference. The packing team should know which strand is positioned first and which retention points belong to each layer.
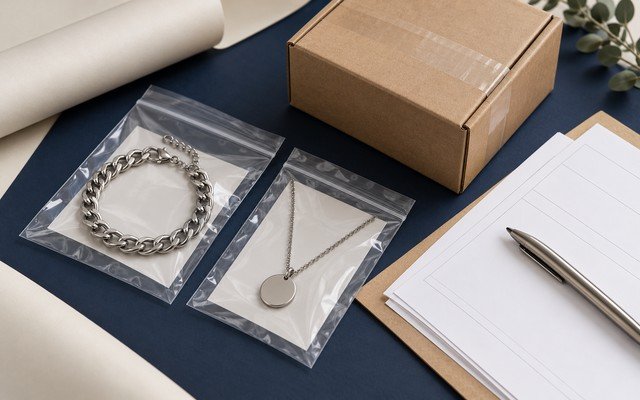
Unpack the proposed retail pack and inspect the terminal order before releasing the sample. Distinguish tangling created during packing from an assembly mismatch already present in the product. Photograph the approved arrangement for receiving staff and future reorders.
Copyable buyer review template
Copy these headings into your working spreadsheet. Add the product SKU, sample revision, date, reviewer, findings, responsible person and final decision. Example fields are planning aids; acceptance criteria must be agreed for your actual product.
| Strand field | What to enter | Approval reference |
|---|---|---|
| Identity | Strand ID, chain and finish | Component/sample reference |
| Length | Method and extension setting | Dimensioned assembly |
| Attachment | Left/right terminal position | Assembly diagram |
| Presentation | Pendant order and packing position | Complete trial and pack-out |
Practical example — hypothetical
A hypothetical buyer orders an integrated three-strand necklace. Every chain meets its specified length, but one terminal has the strand order reversed, causing the layers to cross when laid out. The team compares both ends with the assembly diagram, records the mismatch and requests correction. The revised sample is then checked during normal handling and unpacking. This is an illustrative assembly scenario, not a real customer report.
Three-strand assembly specification — illustrative
Use these fields in your purchase order or sample review. Numerical values and IDs below are illustrative, not live product specifications, test results or confirmed commercial terms. Agree measurement methods, tolerances and acceptance criteria for your actual design.
| Field | Record or illustrative example | Verification before release |
|---|---|---|
| Strand A | 40 cm / cable / no pendant / L1–R1 | Measure along the strand path, including end rings; exclude shared closure and extender |
| Strand B | 45 cm / Figaro / round charm / L2–R2 | Check pendant drop and clearance on the completed necklace |
| Strand C | 50 cm / box / bar pendant / L3–R3 | Check terminal order on both sides and unpacking against the approved diagram |
Assembly order and sample correction
Illustrative terminal map: label each connector in wearing order from top to bottom: left L1/L2/L3 and right R1/R2/R3. Connect A to L1–R1, B to L2–R2 and C to L3–R3. Use the actual connector drawing to define positions; asymmetric designs need their own map.
Before: strands B and C are swapped at the right connector, despite correct chain lengths. After: restore B to R2 and C to R3, then repeat the layout, normal-movement and unpacking checks. Photograph the corrected finished sample; this is a hypothetical example, not a verified production result.
For an OEM/ODM quotation, specify stainless steel material, the physical PVD finish reference, pendant dimensions and quantities per design/finish. Ask for design-specific MOQ, sample/tooling fees and sample timing separately. Approve complete-set dimensions, terminal order, closure operation and packed configuration before production.
Frequently asked questions
Should each strand have its own specification?
Yes. Record its chain reference, finish, length and attachments, then approve the complete assembly. Individual compliance does not ensure that the layers are connected or arranged correctly.
Is a layering set the same as a multi-strand necklace?
No. A layering set may contain independent necklaces with separate closures, while an integrated design shares terminal components. Specify the architecture and sales-unit count before quotation.
Can a supplier guarantee that layers never tangle?
Avoid an absolute claim without suitable evidence. Review ordinary movement and packing on the actual design, record the observations and use clear handling instructions based on the approved arrangement.
Related buyer resources
necklace length planning · chain clasp selection · packaging against scratches and tangles
Discuss your wholesale project with Yleryler
Send Yleryler an assembly sketch, strand-by-strand chain references and lengths, pendant details, terminal arrangement, finish, quantities and packaging proposal. Include your desired worn look and delivery target for a complete-set quotation.
Request a Product-Specific Wholesale Quote
Images are AI-generated product concepts for educational illustration, not photographs of actual Yleryler stock, tooling or customer orders. Dimensions and product performance must be reviewed using the actual approved sample.