A cuff bracelet can look right in a catalogue yet feel difficult to put on. Two designs with the same internal width may wear differently because the opening, cross-section and ends are different. For a wholesale buyer, a single diameter rarely describes the fit well enough.
Wholesale cuff bracelet fit should be approved using internal width and depth, opening width, band profile and a documented wearing method. Assess the finished sample on the intended fit range, and state whether adjustment is permitted. Do not assume a rigid cuff can be repeatedly bent to fit every wrist.
1. Start with the wearer and the entry method
Define the intended customer group and how the cuff should enter the wrist: through the opening at the narrow side, over the hand, or using a designed hinge. These approaches require different clearance. A drawing that only shows the front cannot explain the wearing process.
Ask the supplier to demonstrate the finished sample using the intended method. Record any difficult movement, pressure at the ends or interference from decorative parts. Buyer fit trials provide practical feedback; they do not establish a universal comfort guarantee for everyone.
2. Specify the internal shape, not just the outside size
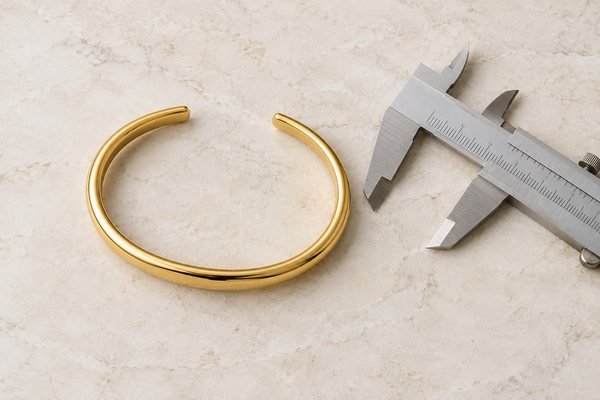
Record internal width and depth at named locations. An oval cuff and a round cuff with similar outer dimensions can sit differently because the wall thickness and interior geometry differ. Use the same measurement landmarks on the drawing, sample and inspection sheet.
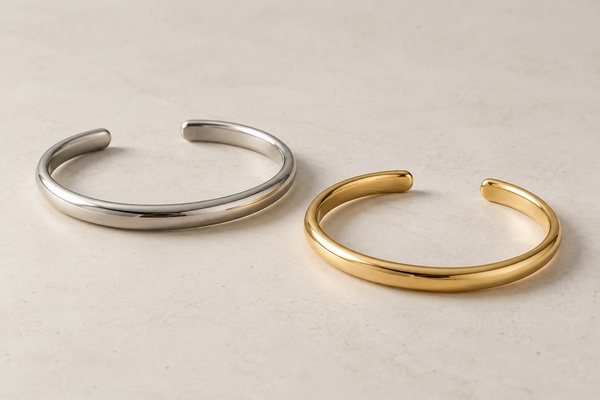
Review Stainless Steel Cuff Bracelet and Stainless Steel Wire Cuff Bracelet as cuff design starting points. Measure each selected sample’s opening and internal geometry rather than assuming the two styles share one fit.
For measurement-record background, see NIST guidance on metrological traceability. Record the cuff opening and internal dimensions at agreed locations rather than relying on a nominal size name.
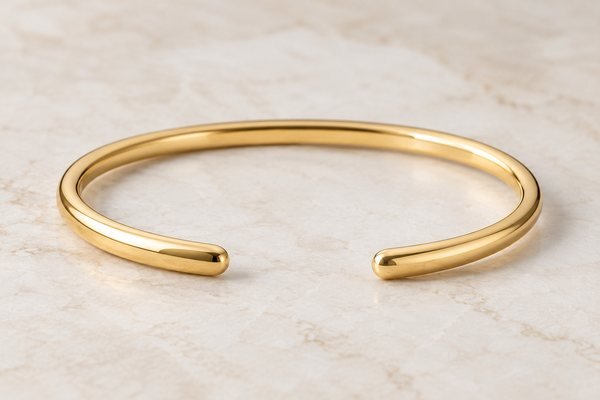
Opening width should be measured between the agreed end points. Also describe the end shape, edge rounding and orientation. Decorative stones, raised logos or inward-facing ends may reduce usable clearance even when the basic band dimensions match.
3. Separate fixed fit from intended adjustment
Confirm whether the cuff is rigid, lightly adjustable or designed with a mechanical opening. If adjustment is permitted, ask for an agreed handling method and range based on the actual construction. Material name alone does not establish how often a finished cuff can be bent.
Avoid setting an arbitrary bend test after the sample is made. Excessive force may damage a product that was never designed for adjustment. Approve any functional test before testing, including equipment, movement, repetitions and acceptance criteria where applicable.
4. Use a fit review sheet before choosing quantities
Copy the table below and add the drawing revision, reviewer and sample date. Keep measured dimensions separate from wearer comments so a subjective preference does not silently become a manufacturing tolerance.
For multiple sizes, create one row per size and finish. An engraved or decorated version should be reviewed as a finished assembly because added components can change contact points. Agree dimensional tolerances with the supplier rather than treating example dimensions as an industry standard.
5. Carry fit instructions into purchasing and packaging
Once the sample is approved, freeze the internal geometry, opening, end treatment and handling instructions in the order record. If a later design changes the band thickness or opening angle, request a fresh fit review before accepting it as the same size.
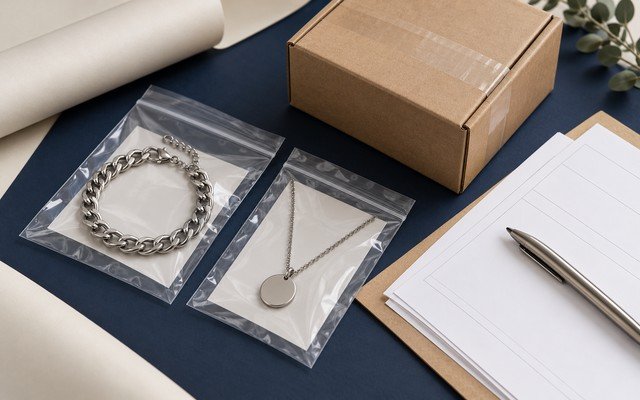
Use product photographs that show the interior and opening as well as the front. A short handling illustration can help retailers explain the intended wearing method. Confirm that packing does not force the ends together or distort the approved opening.
Copyable buyer review template
Copy these headings into your working spreadsheet. Add the product SKU, sample revision, date, reviewer, findings, responsible person and final decision. Example fields are planning aids; acceptance criteria must be agreed for your actual product.
| Review field | What to record | Decision needed |
|---|---|---|
| Internal geometry | Width, depth and measurement landmarks | Approve each size |
| Entry opening | End-to-end clearance and wearing method | Confirm practical access |
| Band and ends | Profile, edge treatment and contact points | Resolve pressure or snagging |
| Adjustment | Permitted method and agreed limits | Include handling instructions |
Practical example — hypothetical
A hypothetical buyer reviews two cuffs with similar internal widths. One has a narrower opening and square ends; the other has rounded ends and a different opening angle. The team records that the first is harder to put on during its fit trial. Rather than simply increasing every dimension, the buyer asks for a revised opening and end profile, then compares the new sample using the same method. The final record identifies the approved revision. This is an illustrative development scenario, not a Yleryler customer result.
Cuff fit specification example
Use these fields in your purchase order or sample review. Numerical values and IDs below are illustrative, not live product specifications, test results or confirmed commercial terms. Agree measurement methods, tolerances and acceptance criteria for your actual design.
| Field | Record or illustrative example | Verification before release |
|---|---|---|
| Internal geometry | Internal width, depth and opening in mm | Mark measurement landmarks on one drawing; do not substitute outer diameter |
| Wear trial | Named fit group and intended entry method | Record pressure points, end clearance and observed fit separately |
| Adjustment | Fixed cuff or explicitly permitted adjustment | Confirm instructions and construction before bending; approve finished sample |
Frequently asked questions
Can one cuff size fit every customer?
No single size guarantees a suitable fit for all wrists or hands. Define the intended range and entry method, then review finished samples with representative wearers. Consider multiple sizes when the target range is broad.
Should buyers bend a stainless steel cuff during inspection?
Only if adjustment is an intended feature and the method has been agreed. Do not force a rigid cuff as an informal strength check. Record the approved handling instructions and assess products against them.
Which measurements should appear on a cuff purchase order?
Include internal width and depth, opening width, band profile, end treatment and the approved drawing or sample revision. State the measurement landmarks and agreed tolerances so both teams use the same reference.
Related buyer resources
jewelry CAD review · sample approval checklist · surface finish selection
Discuss your wholesale project with Yleryler
Send Yleryler your cuff reference images, target wearer range, internal dimensions, opening concept, finish, logo location and quantity by size. Include your destination and launch date so we can review sample development and packaging alongside the quotation.
Request a Product-Specific Wholesale Quote
Images are AI-generated product concepts for educational illustration, not photographs of actual Yleryler stock, tooling or customer orders. Dimensions and product performance must be reviewed using the actual approved sample.